
Apple Maps, better known for its work on the iPhone and Mac, is also a brilliant preinstalled app for the Apple Watch. It lets you search for a location and then get discreet turn-by-turn directions, ‘tapped’ on your wrist so you don’t even need to look at the screen.
Indeed, the use of Apple Maps was a huge part of the original Apple Watch‘s launch announcement, the idea being that it lets users concentrate more on what’s happening around them, as opposed to having to stare at a phone screen to get directions. In this article, we talk you through all the features that Maps boasts on Apple Watch, as well as how to use it. For a comparison of Apple Maps and its Google rival, take a look at our Apple Maps vs Google Maps comparison review.
Note that for most Apple Watch owners it will be necessary to be in range of the watch’s companion iPhone. The exception is the cellular-equipped Apple Watch Series 3, which is able to operate independently.
Get started
Open the Maps app by pressing the Digital Crown to access the home screen, and then tapping on the Maps icon. Alternatively, if Maps is in your Dock, press the side button and swipe to the Maps screen. (To edit your Dock, open the Watch app on the paired iPhone, then go to Dock > Edit.)
You can also open Maps by tapping on an address in a text or email.

View your location on a map
To see where you are, tap My Location. You can zoom in and out of your location by scrolling with the Digital Crown (the little dial on the side of the watch), or pan around the area using your finger as you normally would in the Maps app for iPhone.
Tap the back arrow at the top left of the screen to go back to the main menu.
Search for a location
To search for a new location, tap Search (to look for a specific named location) or Nearby (to browse categories of nearby locations, such as Food and Shopping) from the main menu. Or you can jump to a search directly from the My Location map screen: do a hard press and select Search or Nearby from the menu that pops up.

If you choose to search for a location, you’ll be served with a list of recent places that you’ve searched for – both on your Apple Watch and iPhone. If you want to find somewhere new, you can use the dictation tool to search for the location.

For those who aren’t a fan of using dictation to search for a location on your Apple Watch, there is an alternative available. If you search for a location and get directions using your iPhone, the directions will automatically appear on your Apple Watch.
Maps will then search for the location, contact information, opening times and reviews (where applicable).
Get directions to a location
It’s easy to get directions home or to work – these two options are offered at the top of Maps’ main menu.

Maps pulls these two addresses from your own card in Contacts. Open Contacts and you’ll see your own card at the top of list. Make sure there’s an address labelled as Home and another labelled as Work, and Maps will be able to offer one-tap directions to each of these.
You can also get directions to a location that you searched for or browsed using the Search and Nearby functions described above. And you can get directions to a contact’s address: open the My Location map, do a force-press and then select the Contacts icon. (This option isn’t available from the starting screen.)
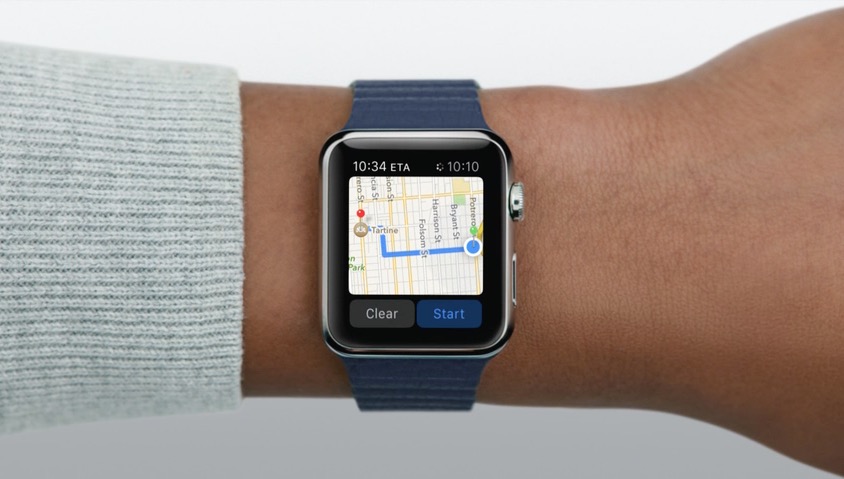
Once you’ve selected a target location, you simply have to choose whether you require walking, driving or public transport directions (for more on that, see How to use public-transport directions in Apple Maps), then tap Start. Open the Settings app on the paired iPhone and tap Maps, and you can select which of the three transport types will be offered as the default.
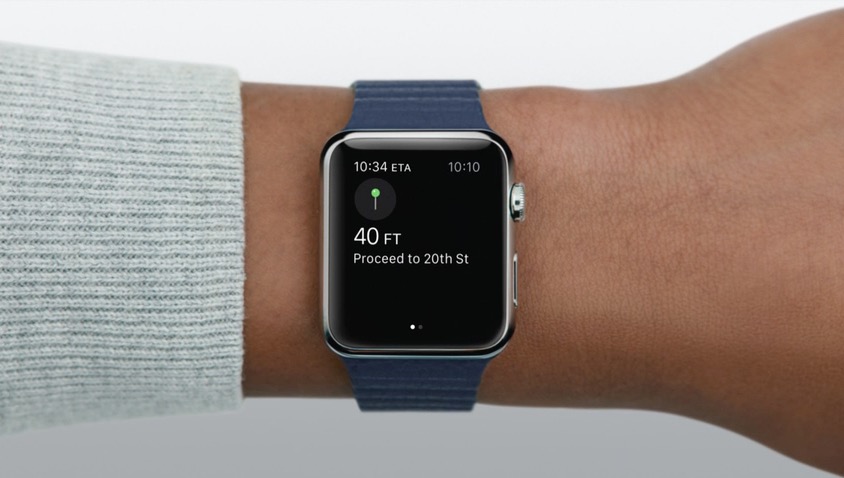
The Apple Watch will display the relevant instructions turn by turn, vibrating on your wrist when a turn is approaching so that you never miss anything.
“A steady series of 12 taps means turn right at the intersection you’re approaching,” says Apple’s official instructions. “Three pairs of two taps means turn left.” That sounds complicated, but it quickly becomes second nature. The watch also vibrates when you’re approaching your destination, and again when you get there.
At the top left of the screen you’ll see the remaining time the journey is expected to take, in minutes; tap this to show the ETA instead.

Stop directions
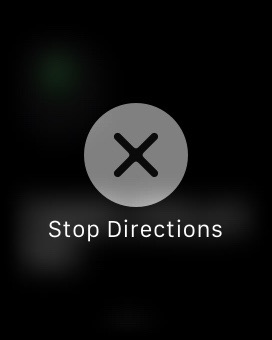
An important step to take, if you don’t want your Apple Watch battery to run out, is to stop the directions once you no longer need them.
To do so, press down on the map until you see the words Stop Directions and tap on the X. For more battery saving tips for the Apple Watch read how to make your Apple Watch battery last longer.
Author: Lewis Painter, Contributor, Macworld

Lewis Painter was previously a Senior Staff Writer at our sister site Tech Advisor. An Apple expert, Lewis covers everything from iPhone to AirPods, plus a range of smartphones, tablets, laptops and gaming hardware.